Home » Recipes » Cat Icebox Cookies Recipe
Cat Icebox Cookies Recipe Cooking tree

Cat Icebox Cookies Recipe

by Cooking Tree

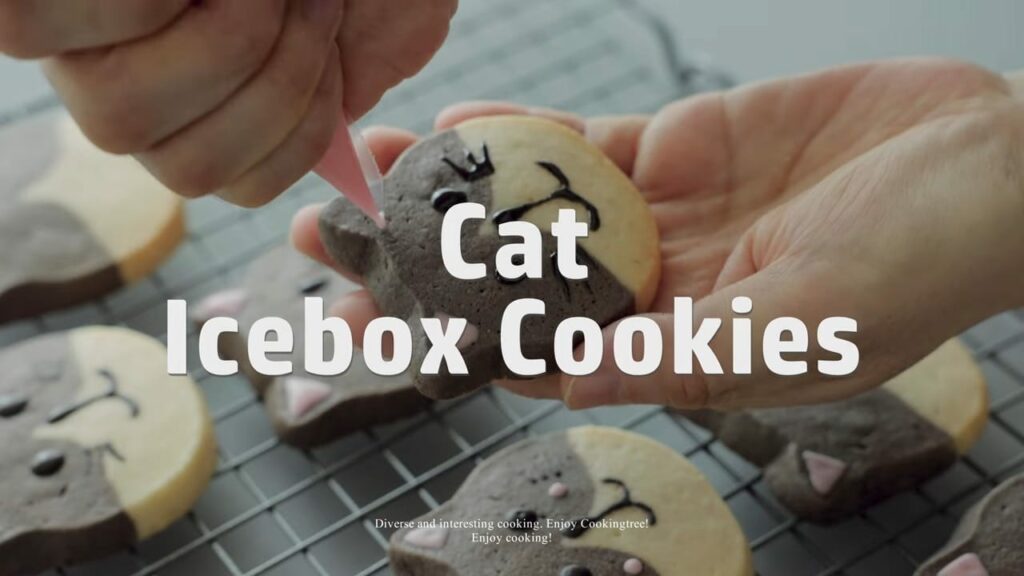
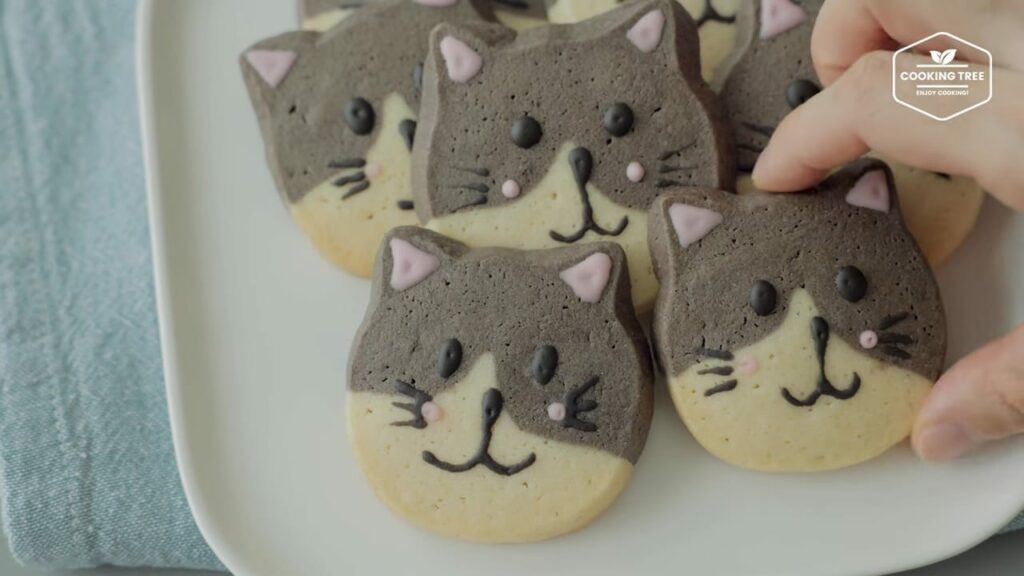
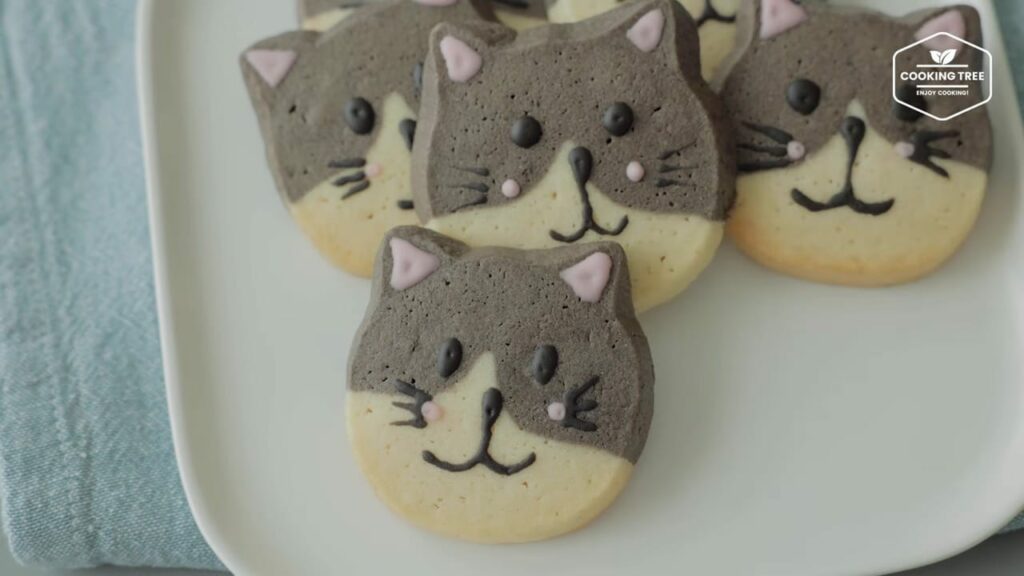
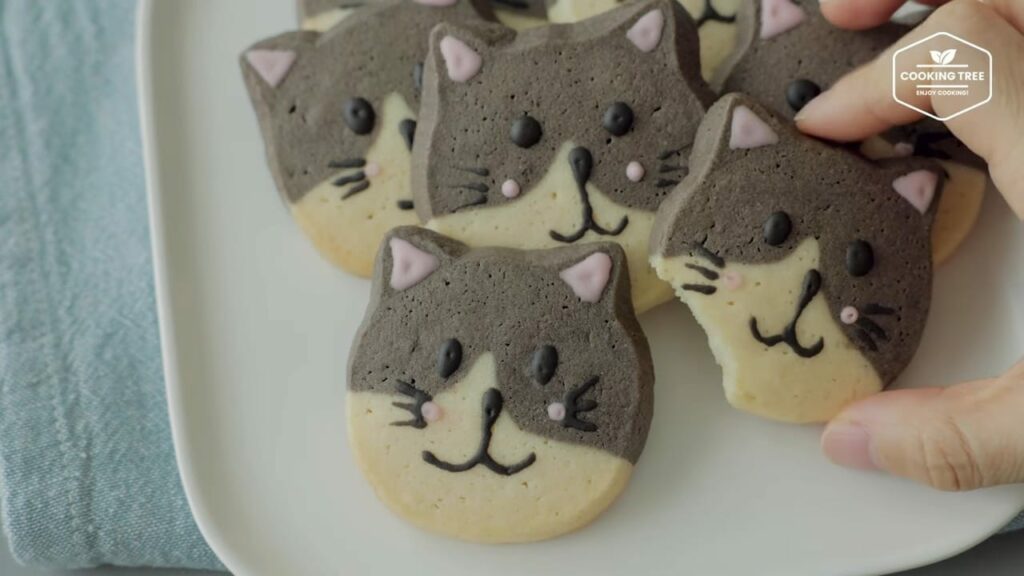
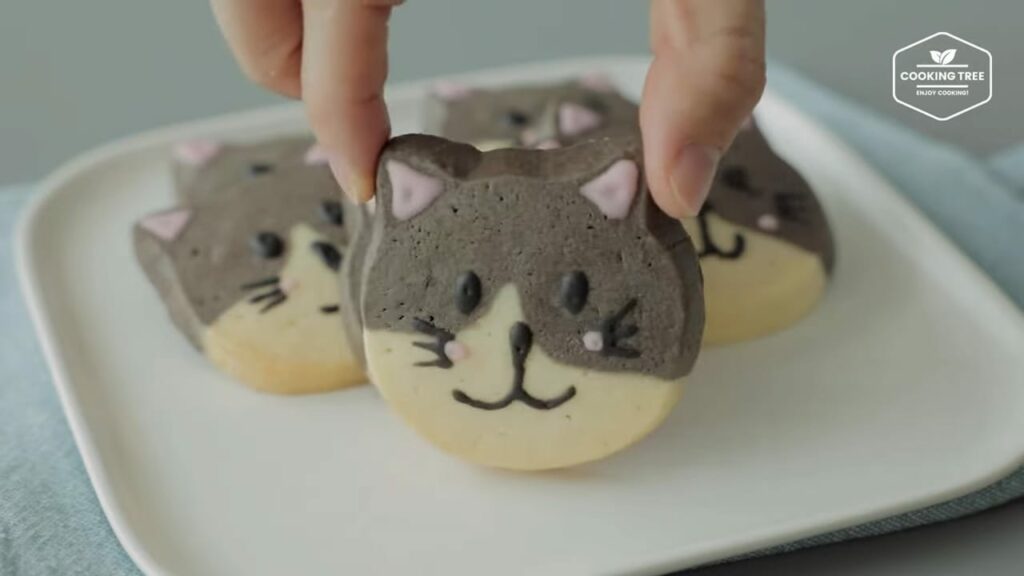
Cat Icebox Cookies are on the menu in Cooking Tree, and we are going to teach you how to make this delicious recipe from scratch!

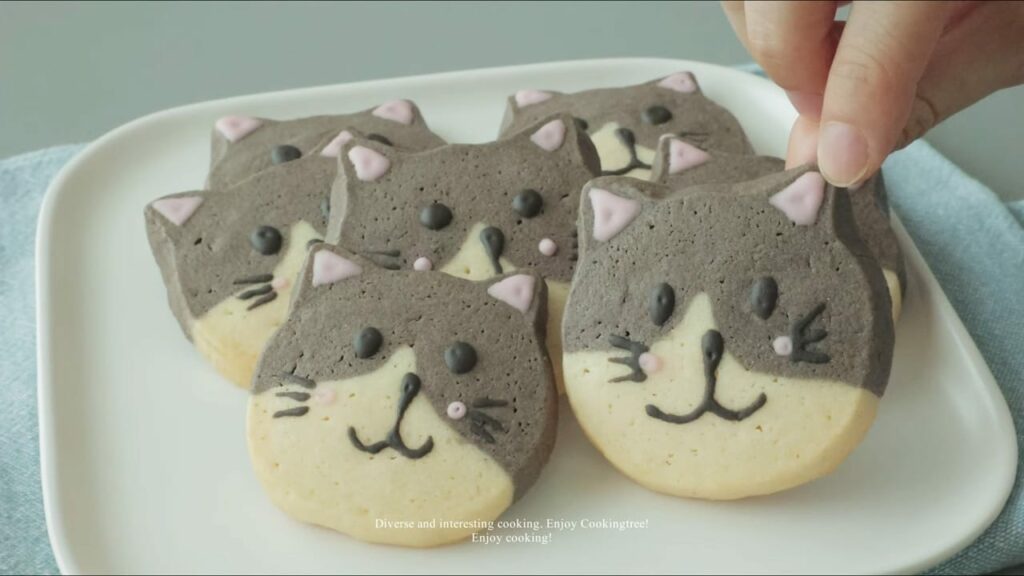
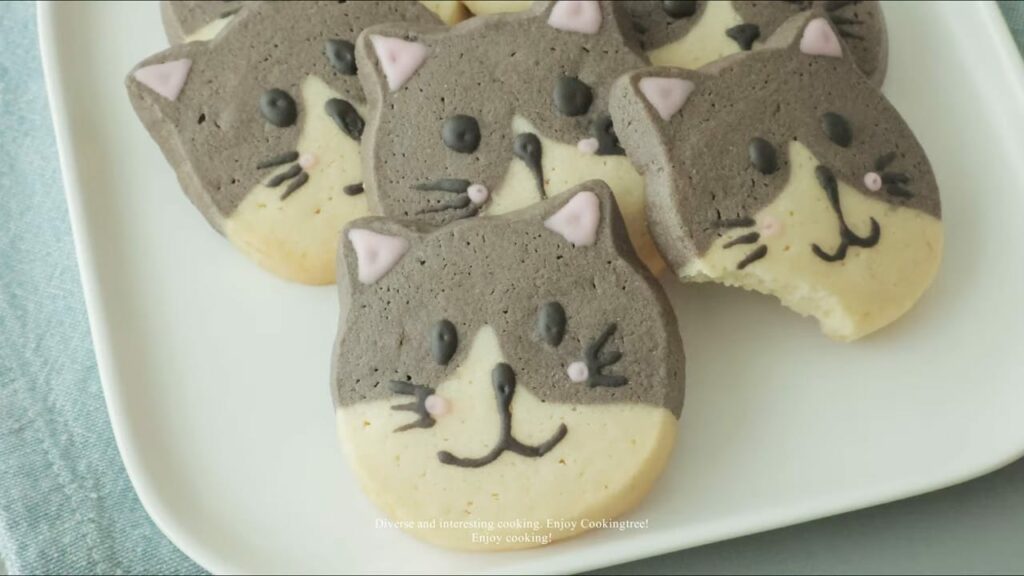
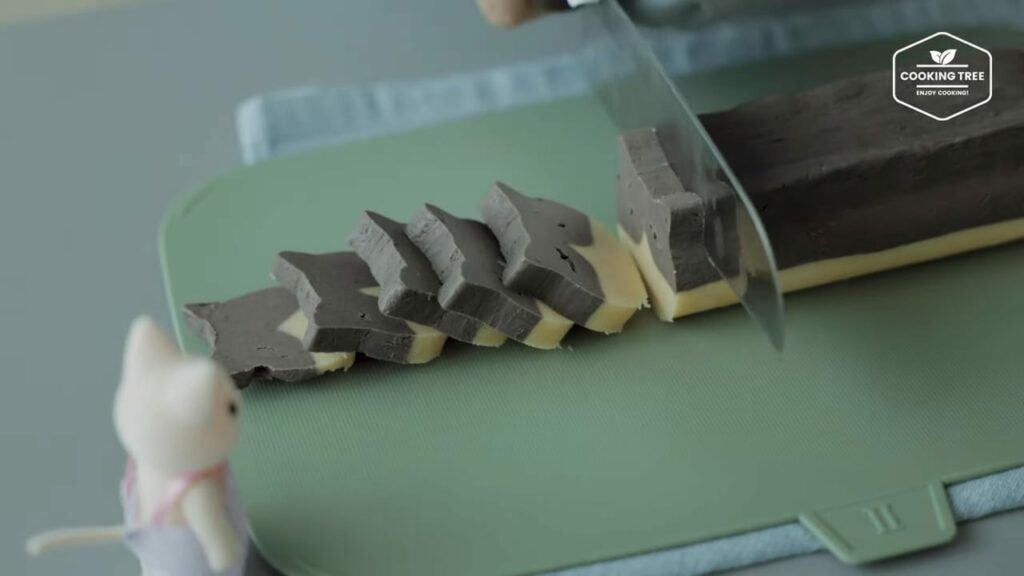
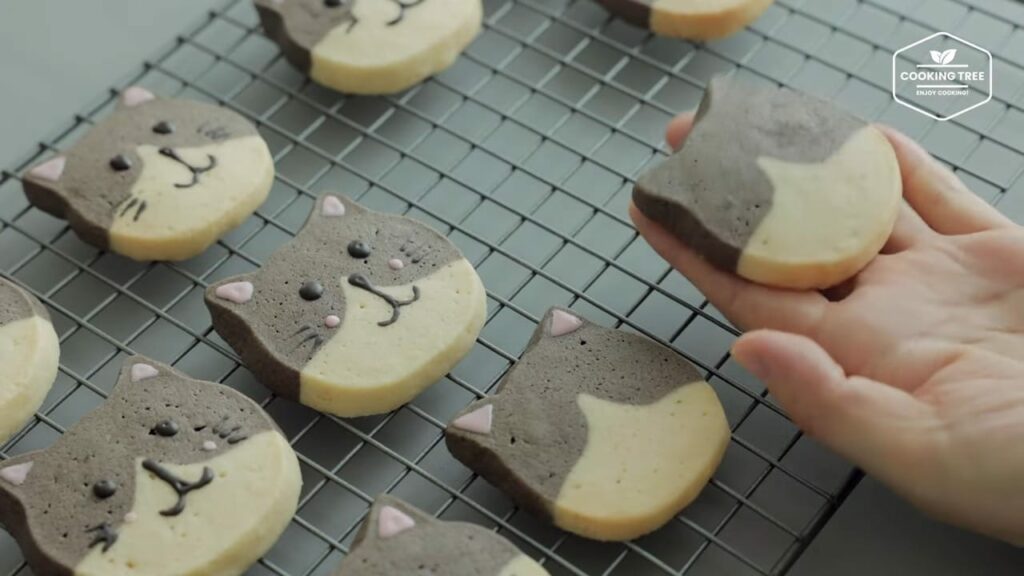
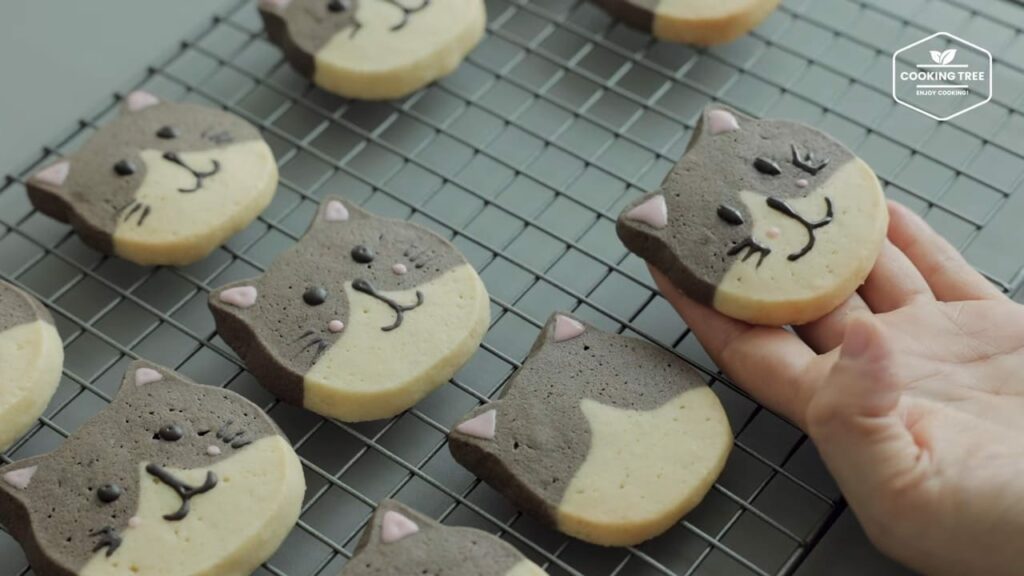
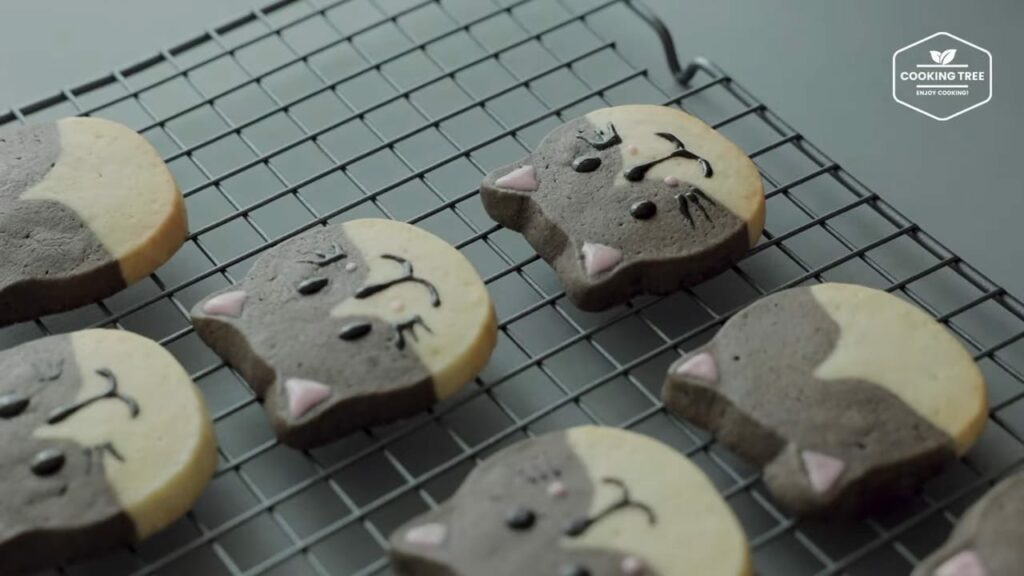
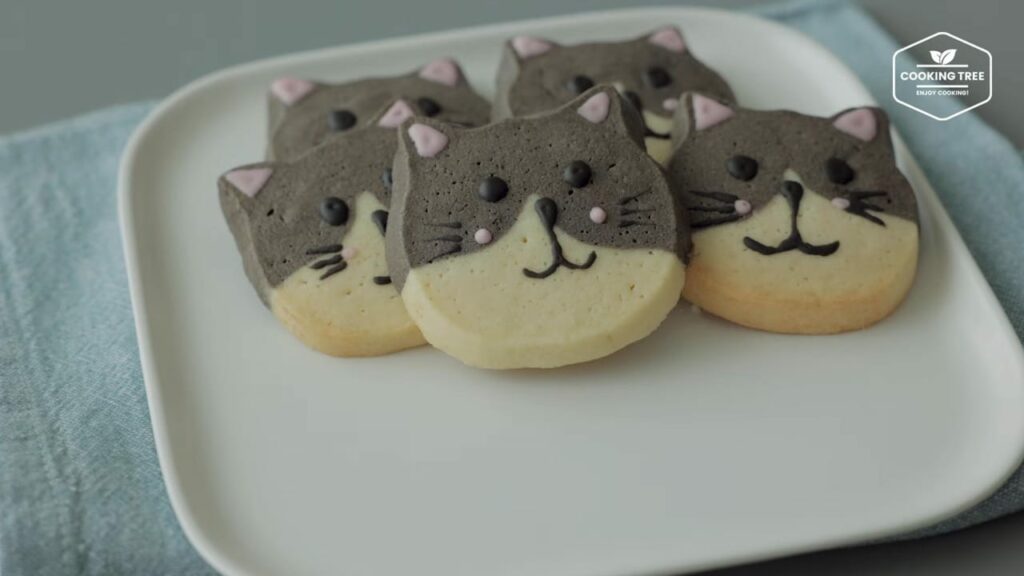
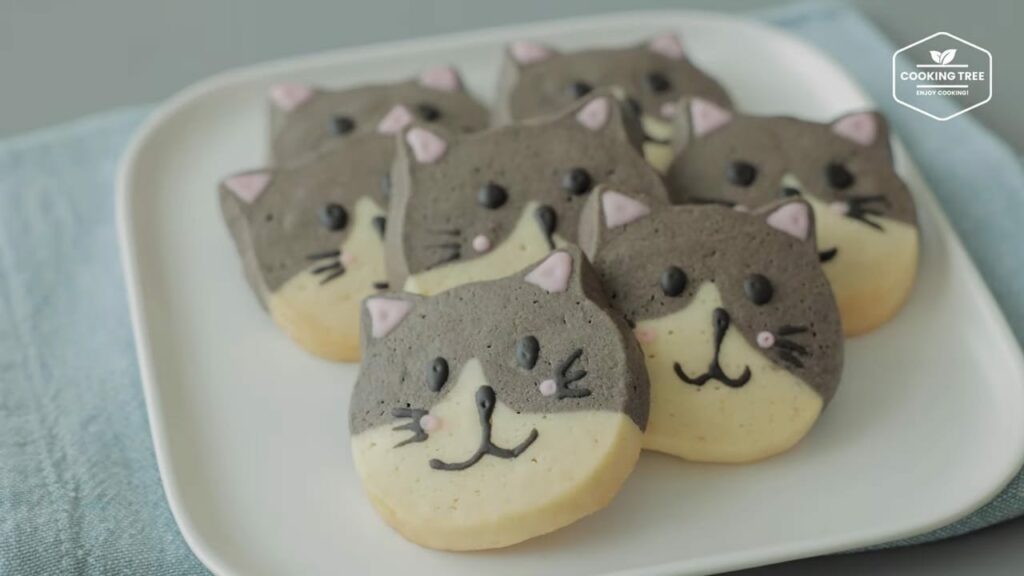
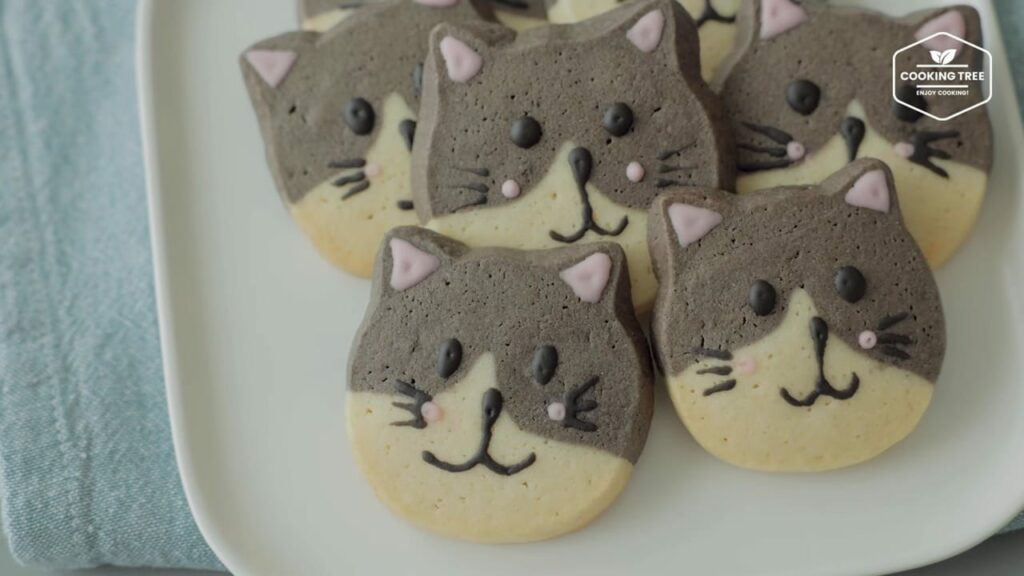
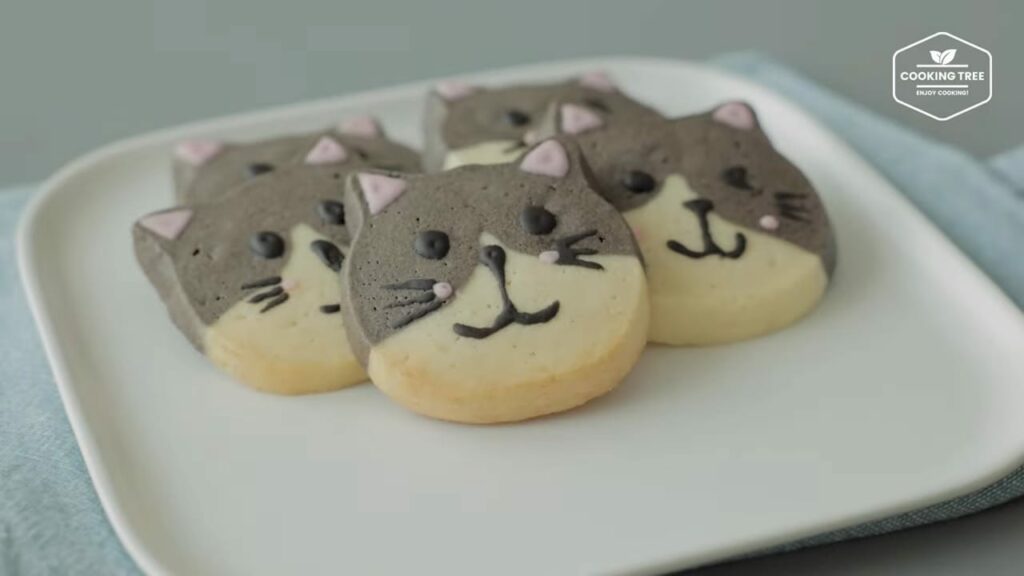
I made a gray cat this time with a slightly different color from the cat cookie I made last time.
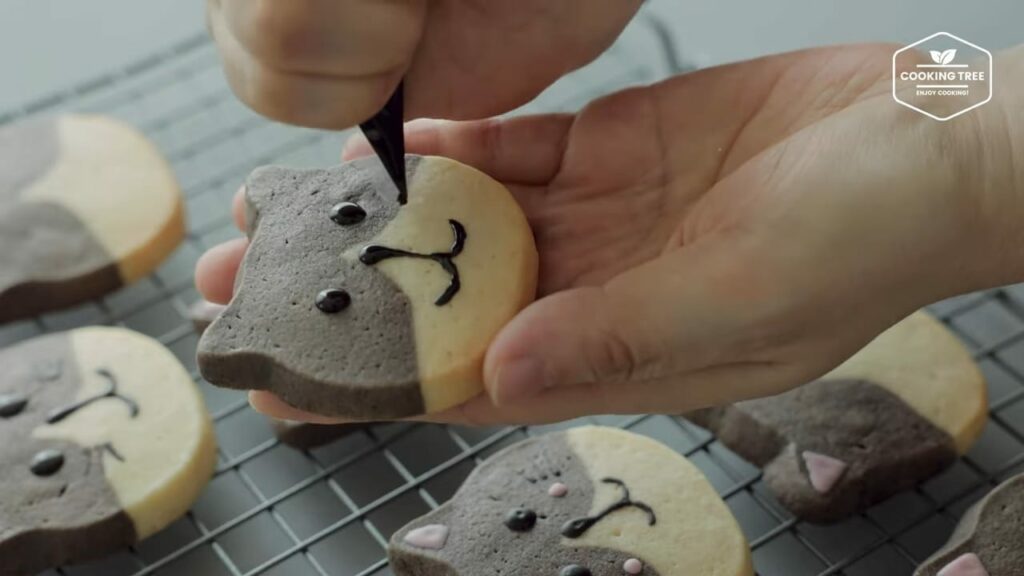
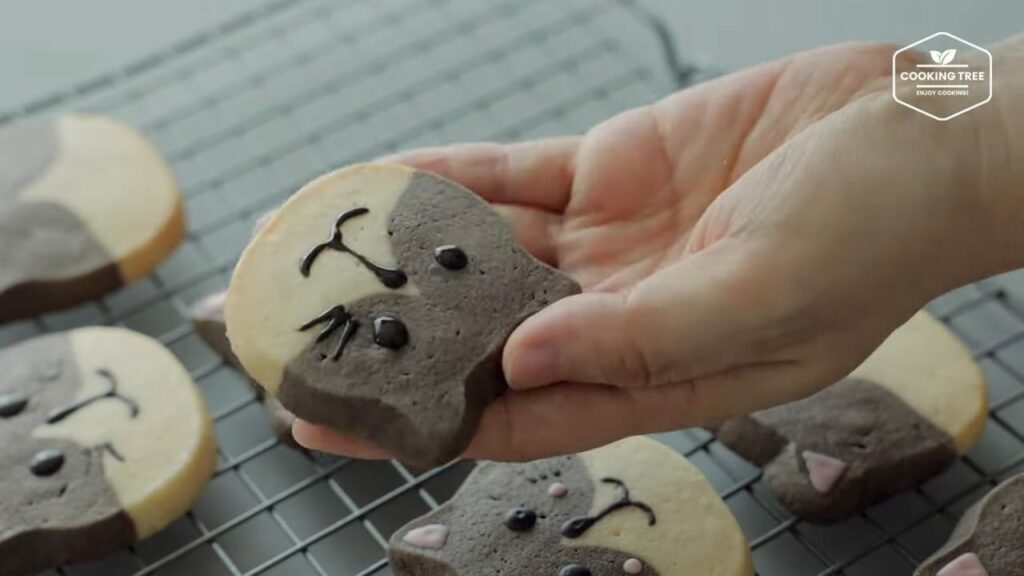
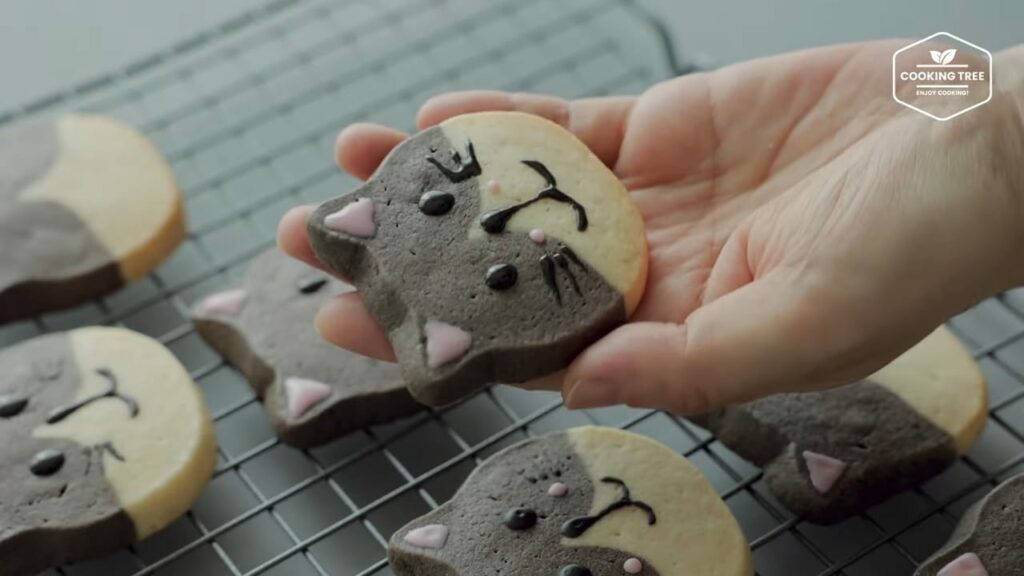
It has a simple shape and is easy to make, and I think the feeling changes a lot depending on how you decorate it.

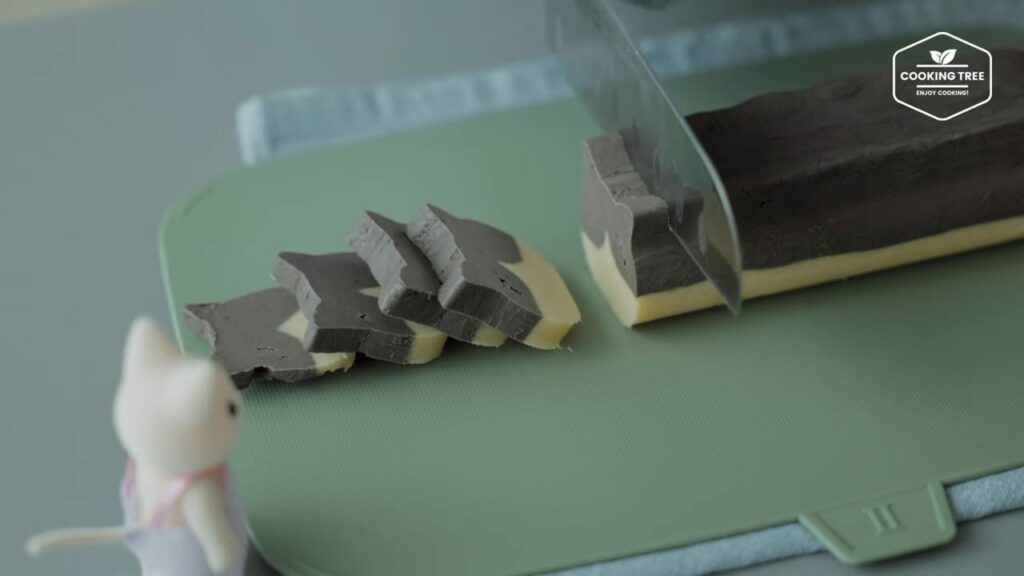
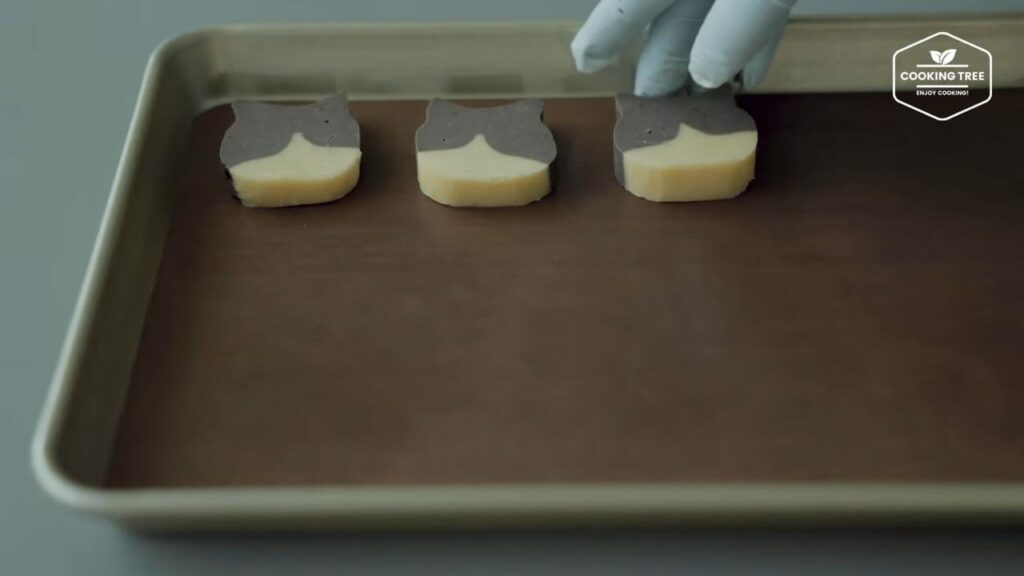
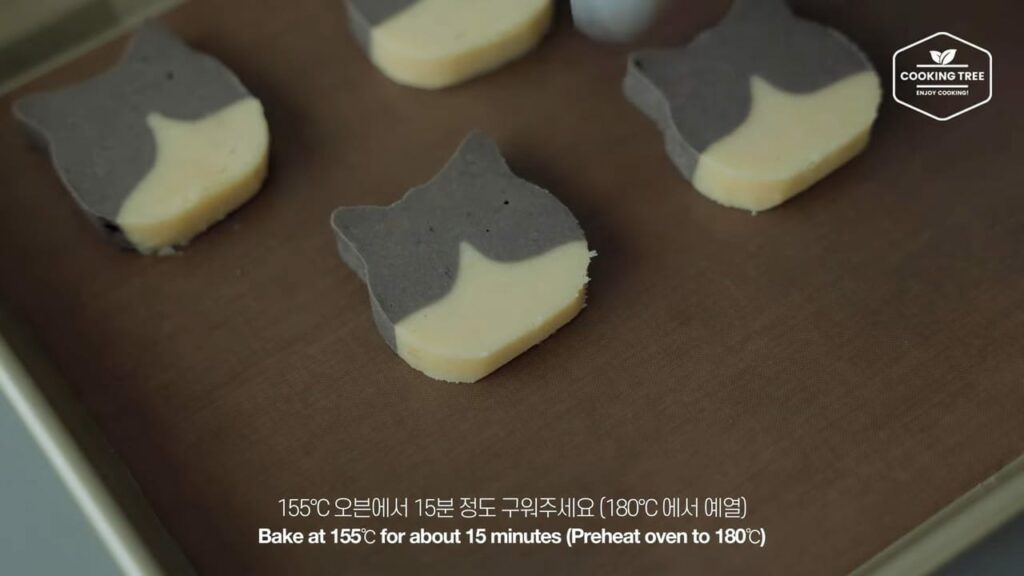
After you freeze the cookies at room temperature, the outside will melt quickly, so pan them in an oven pan and re-freeze them in the freezer for at least 10 minutes while preheating the oven for better shape.

These are cute cookies that children will really like~^^
Enjoy watching~♬~

  • Cat Icebox Cookies Recipe Cooking tree
  • Cat Icebox Cookies Recipe Cooking tree
  • Cat Icebox Cookies Recipe Cooking tree
  • Cat Icebox Cookies Recipe Cooking tree
  • Cat Icebox Cookies Recipe Cooking tree
  • Cat Icebox Cookies Recipe Cooking tree
  • Cat Icebox Cookies Recipe Cooking tree
  • Cat Icebox Cookies Recipe Cooking tree
  • Cat Icebox Cookies Recipe Cooking tree
  • Cat Icebox Cookies Recipe Cooking tree
  • Cat Icebox Cookies Recipe Cooking tree
  • Cat Icebox Cookies Recipe Cooking tree
  • Cat Icebox Cookies Recipe Cooking tree
  • Cat Icebox Cookies Recipe Cooking tree
  • Cat Icebox Cookies Recipe Cooking tree
  • Cat Icebox Cookies Recipe Cooking tree
  • Cat Icebox Cookies Recipe Cooking tree
  • Cat Icebox Cookies Recipe Cooking tree
  • Cat Icebox Cookies Recipe Cooking tree
  • Cat Icebox Cookies Recipe Cooking tree
  • Cat Icebox Cookies Recipe Cooking tree
  • Cat Icebox Cookies Recipe Cooking tree
  • Cat Icebox Cookies Recipe Cooking tree
  • Cat Icebox Cookies Recipe Cooking tree
  • Cat Icebox Cookies Recipe Cooking tree
  • Cat Icebox Cookies Recipe Cooking tree
  • Cat Icebox Cookies Recipe Cooking tree

Follow along with the 📝 recipes below👇🏾👇🏾

Cat Icebox Cookies Recipe Cooking tree

Cat Icebox Cookies

Rating: 4.7/5
( 3 voted )
Serves: 12 Prep Time: Cooking Time: Nutrition facts: 200 calories 20 grams fat

Ingredients

  • 100g Unsalted butter
  • 80g Powdered sugar
  • 0.5g Salt
  • 40g Whole egg
  • 2g Vanilla extract
  • 200g Cake flour
  • 20g Almond Powder
  • 0.5g Baking powder
  • 4g Black cocoa powder
  • White food coloring

  • 25g Powdered sugar
  • 5g Egg white
  • 3g Lemon juice

Instructions

  1. Melt room temperature butter, add sugar powder and salt, mix, then add egg and vanilla extract and mix.
  2. Beat the soft flour and almond flour baking powder into a sieve, mix with a spatula, and set aside 2/5.
  3. Add black cocoa powder and white pigment to 3/5 dough and mix to make gray dough.
  4. Make a circle using parchment paper and then shape it into a water droplet shape.
  5. Leave a little dough enough to make both ears, divide it in half to form a cylindrical shape, and place it on top of the basic dough.
  6. Make a cylindrical shape using parchment paper and harden it in the freezer for about 30 minutes, then make an ear with the remaining dough and attach it.
  7. Harden in the freezer for 1 hour, cut into flat pieces with a knife, pan in an oven pan, and place in the freezer while preheating.
  8. Preheat at 180°C, bake at 155°C for 15 minutes, and cool.
  9. Add the egg white to sugar powder and mix, add lemon juice to adjust the concentration, then make pink and black icing and decorate.
Did You Make This Recipe?
Tag us on Instagram at @Cooking Tree.

Recipe video

Thank you for watching~


Enjoy


🇰🇷🇰🇷 See the recipe in Korean 🇰🇷🇰🇷

You may also like

Leave a Reply

[script_18]

This website uses cookies to improve your experience. We'll assume you're ok with this, but you can opt-out if you wish. Accept Read More

Garlic Butter Cheese Toast Korean Hot Dog Recipe Coconut Lemon Curd Cookie Soft Tomato Basil Cheese Bread Omelet (without mixing the whites and yolks)